Employer Settings
Each employer on your CarePro portal will have an
account. This account enables employers to be able to login and perform
various actions e.g. viewing order statuses, upcoming interviews etc.
You can choose to allow employers to create accounts
for themselves by registering on the Frontend. This is the default
setting. If however for some reason you do not wish to allow employers
register (e.g. you wish to create all employer accounts manually), you
can disable employer registration. The setting to do this is available
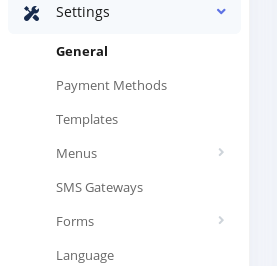
on the 'General Settings' page. You can open this page by going to
'Settings'-'General'
Scrolling down on the page reveals some options for employer registration
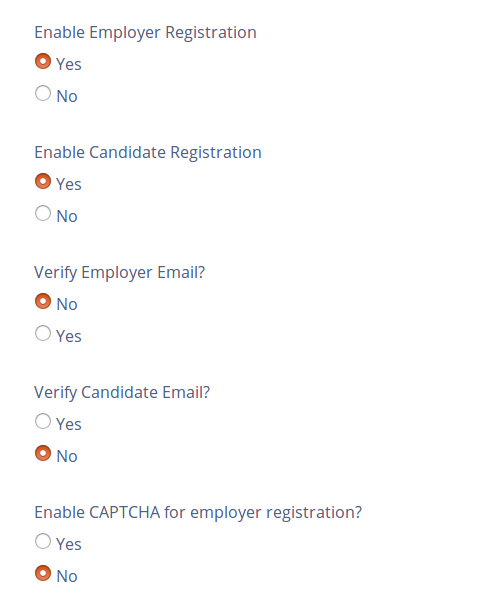
Important employer related setting to note here are
-
Enable employer registration: This
controls if registration is enabled for employers. If set to 'No' then
no employer will be able to register on the Frontend. You will however
still be able to create accounts for employers on the backend and these
employers will be able to login from the frontend as long as their
accounts are marked 'Active'
-
Verify Employer Email: This enables only
employers with verified emails to open accounts. This setting only takes
effect if registration is enabled for employers. The system will send
the employer a verification email. Only after clicking the email will an
employer be able to complete their registration.
-
Enable CAPTCHA for employer registration:
This forces employers to fill in a numeric code on an image (CAPTCHA)
before they can complete their registration. This prevents robots from
creating accounts on your portal.
Employer Profile Form
By default, the registration form for employers appears as below:
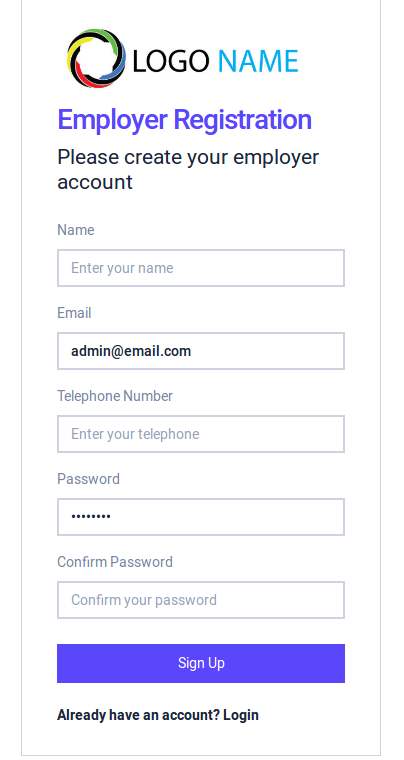
However, if you want every employer to supply more
information during registration, you can add more fields to the employer
registration form.
To manage custom fields for employer profiles, go to 'Settings'-'Forms'-'Employer Profile'
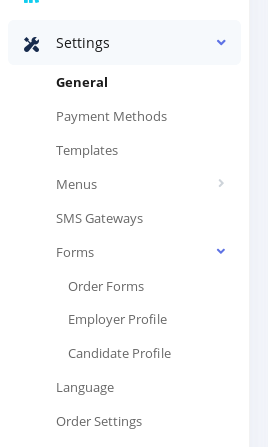
The employer profile form page opens as below
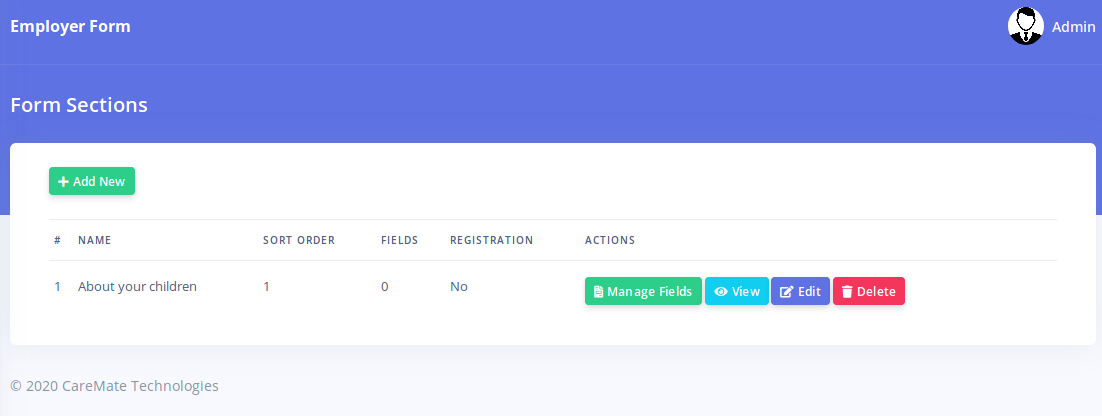
Each field must belong to a section. Sections allow
you to group related fields and makes your form more organized. Click on
the 'Add New' button to create a new section
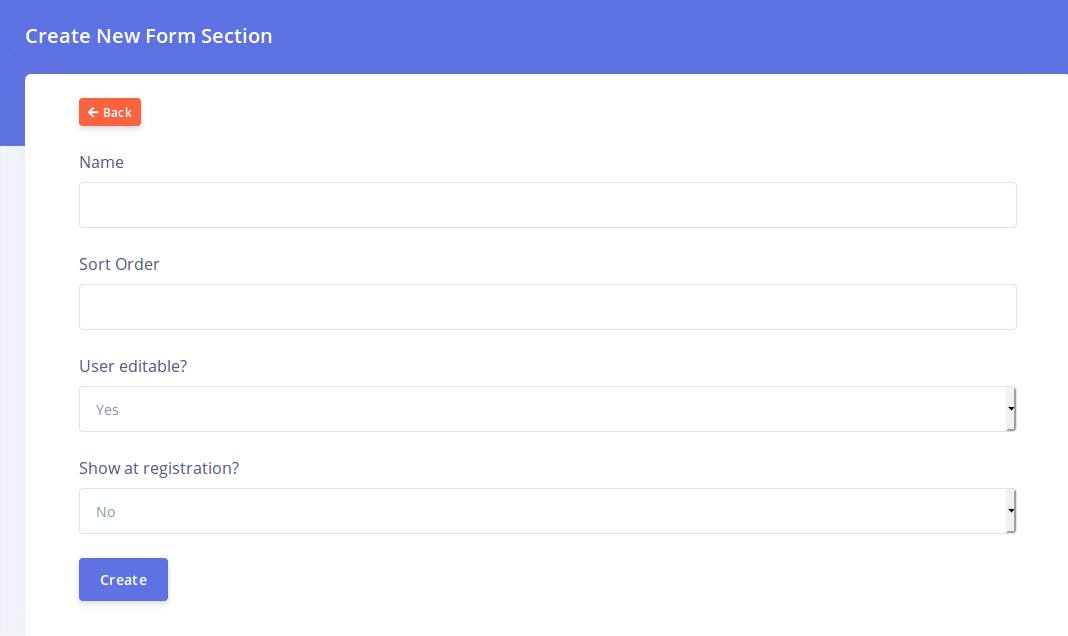
The different fields are explained below
-
Name: The name of the section. This will
also be visible to employers. Choose a name that describes what type of
information will be collected by the fields in this section
-
Sort Order: This controls the order of display of this section relative to other sections. Sections will be displayed in ascending order.
-
User Editable: This determines if the
employer can make changes to the fields in this section. If set to 'No',
then only the admin will be able to view and edit the fields in this
section. Also, setting this to 'No' will hide this section and its field
from the employer registration form.
-
Show at registration: This determine if
this section and it's fields will be visible during registration. This
option is only visible if 'User Editable' is set to 'Yes'. If you set
this option to 'No' then employers will not see this section and its
fields when they are registering for the first time. However, they will
still see this section if they choose to update their account from their
account's profile page.
Once you have created a section, you will be directed back to the section list page.
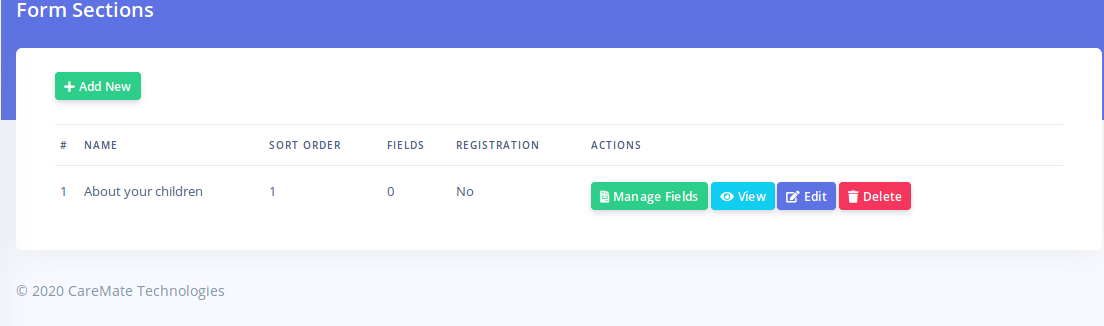
Click on the 'Manage Fields' button for a section in
order to create fields for it. Creating fields here is similar to the
process for creating order form fields.
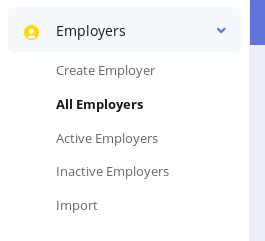
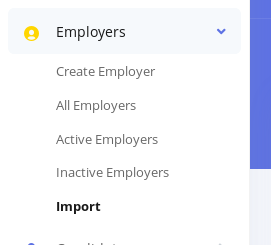
Managing Employers
Each employer on your site will have an account. You
can manage all the accounts of employers by clicking on the 'Employers'
menu option.
You can segment your employers as either 'Active' or
'Inactive'. You are at liberty to determine what you would term as an
Active or Inactive employer. Typically though, you would term an
'Active' employer as one who currently has a candidate of yours in their
employ or is in the process of hiring and candidate from you.
The employer listing page appears as below
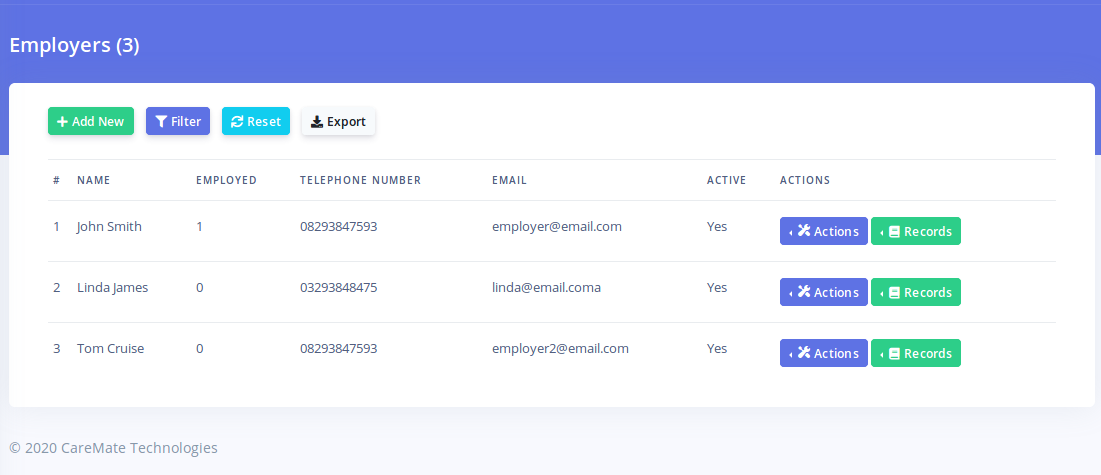
The 'Employed' column in the image above shows how
many candidates that employer has every hired from you. This number is
determined from the 'Placement' records that you create for the
employer.
At the top of the list are some buttons. The 'Filter'
button enables your to filter the list based on different criteria. The
'Export' button enables you export your list of employers into a csv
file. Please note that the exported list will also be filtered based on
your 'Filter' criteria used (if any).
The 'Actions' button for each employer enables you to view edit or delete an employer.
Employer Records
The 'Records' button for each employer displays a list of records associated with that employer
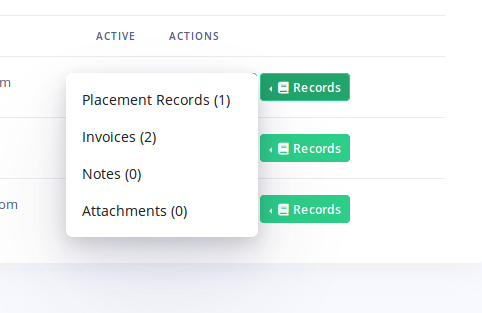
- Placement Records: These are the placement
records you have created for this employer. A placement should be
created every time an employer employs a candidate from you. You can
create new placement records from this page.
- Invoices: These are all the Invoices associated with this employer. This enables you view the payment history of each employer.
- Notes: Notes can be created for each employer. A
note is an internal log containing any information you wish to retain
about an employer. Typically, you should log every interaction your
staff have with an employer such as Phone call, emails etc.
- Attachments: You can attach files to each employer. This is important for storing information like receipts, images etc.
Importing Employers
CarePro allows you to import employers into the
system. This is very useful if you already have an existing database of
Employers. An account will be created for each employer and login
details can be emailed to them.
In order to import employers, go to 'Employers'-'Import'
This brings up the import wizard as show below:
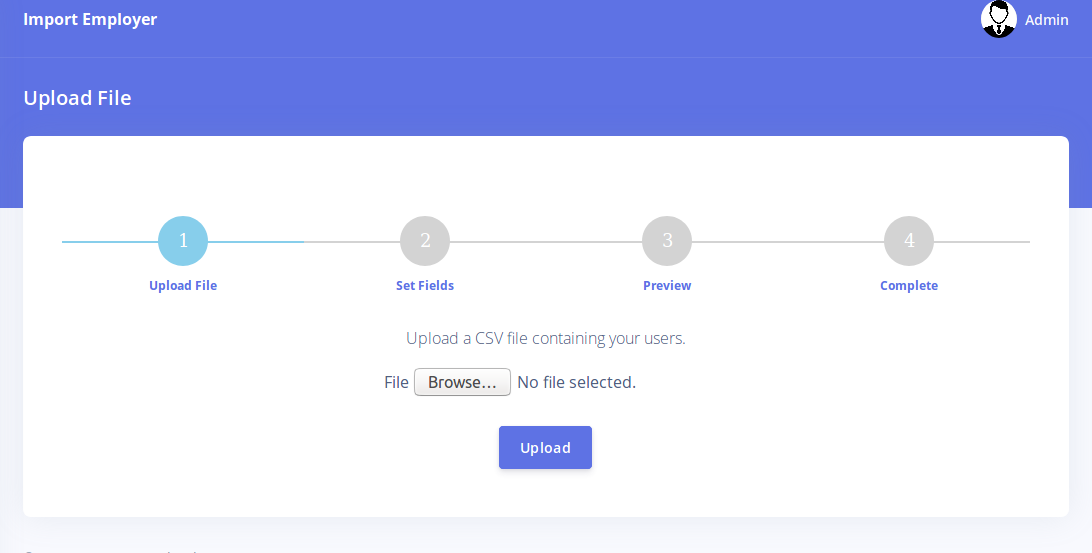
Click on the browse button in order to select a csv
file from your hard drive. Please note that the import feature only
accepts properly formatted CSV files. The CSV file should have the
column names as the first line. Click on 'Upload' once you have selected
the file.
The next step of the wizard is the 'Set Fields' step
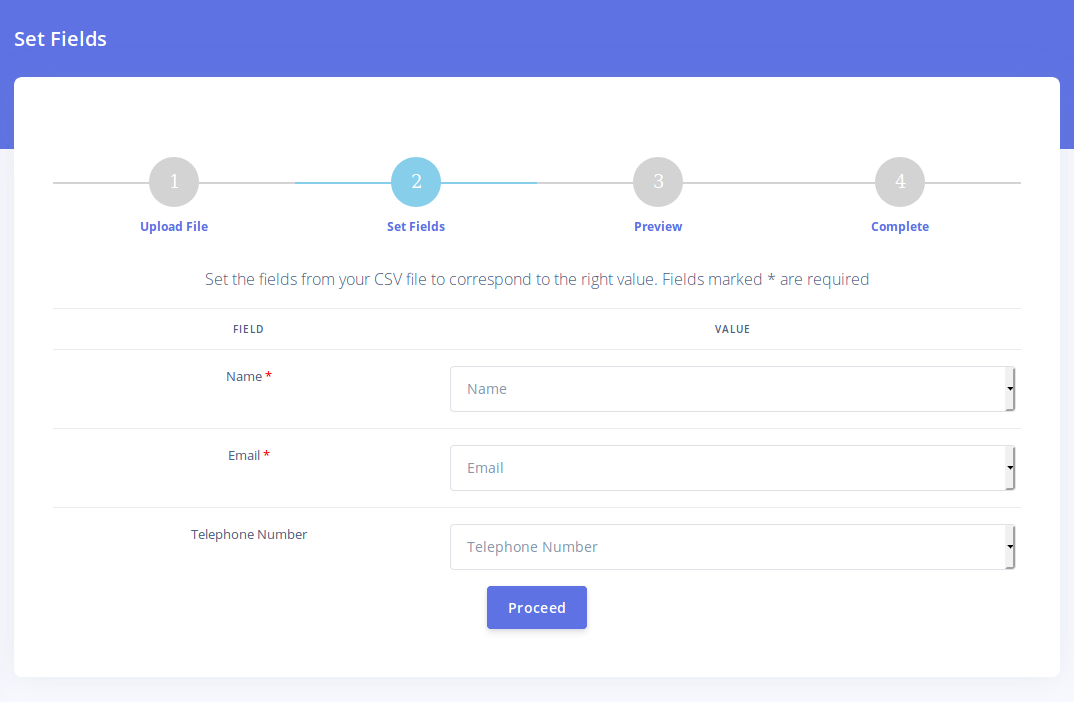
In this step, you need to map the fields in the CSV
file with the fields CarePro expects to receive. The CarePro fields are
on the left while the fields from the CSV file are in the Dropdowns on
the right. If you have created custom employer profile fields, they will
also display. Once you have mapped your fields properly, click on the
'Proceed' button.
The Preview step will come up. This shows a preview of how fields will be mapped based on your selection in the previous step.
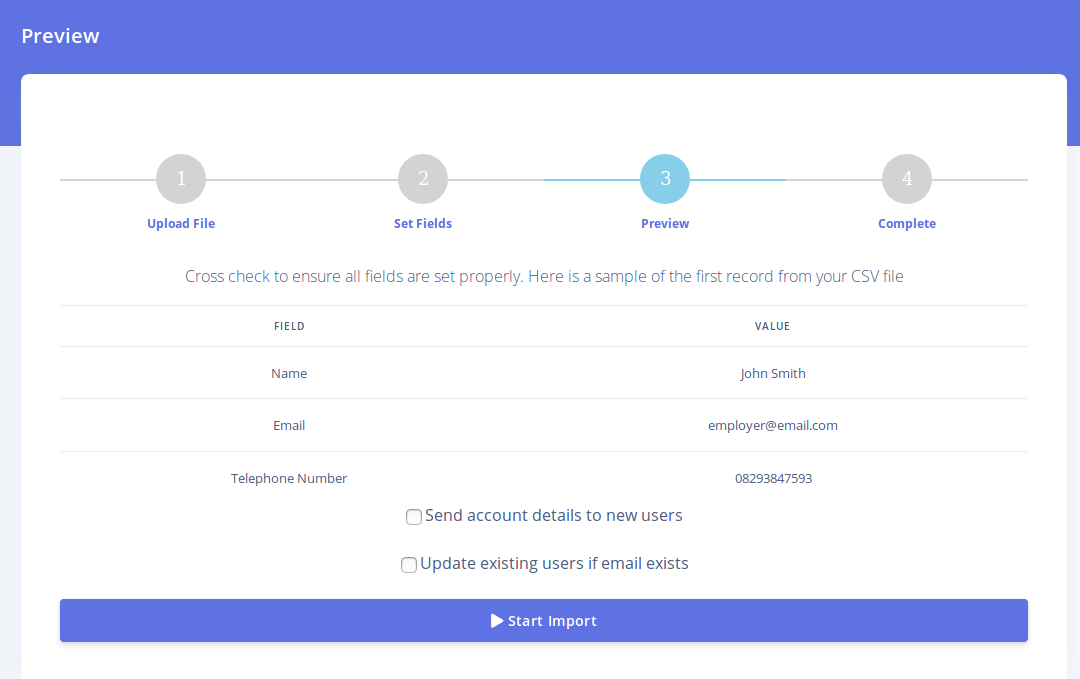
The 'Send account details to new users '
checkbox enables you to specify if users should recieve the login
details to their new account once they get imported.
The 'Update existing users if email exists
' option will attempt to update user data if the email account already
exists on the system.
Click the 'Start Import' button to complete your importation.